")
 Español
 Français
New Posts
LightHouse UNZIPPED!
08 February 2022
 Making a Start
That said, it may be best not to leap up and risk pulling a muscle. First of all, make another cup of tea and have a long think. As we draw up our plans, it will soon become apparent which supplies and equipment will be needed if we are to end up with a successful harvest.
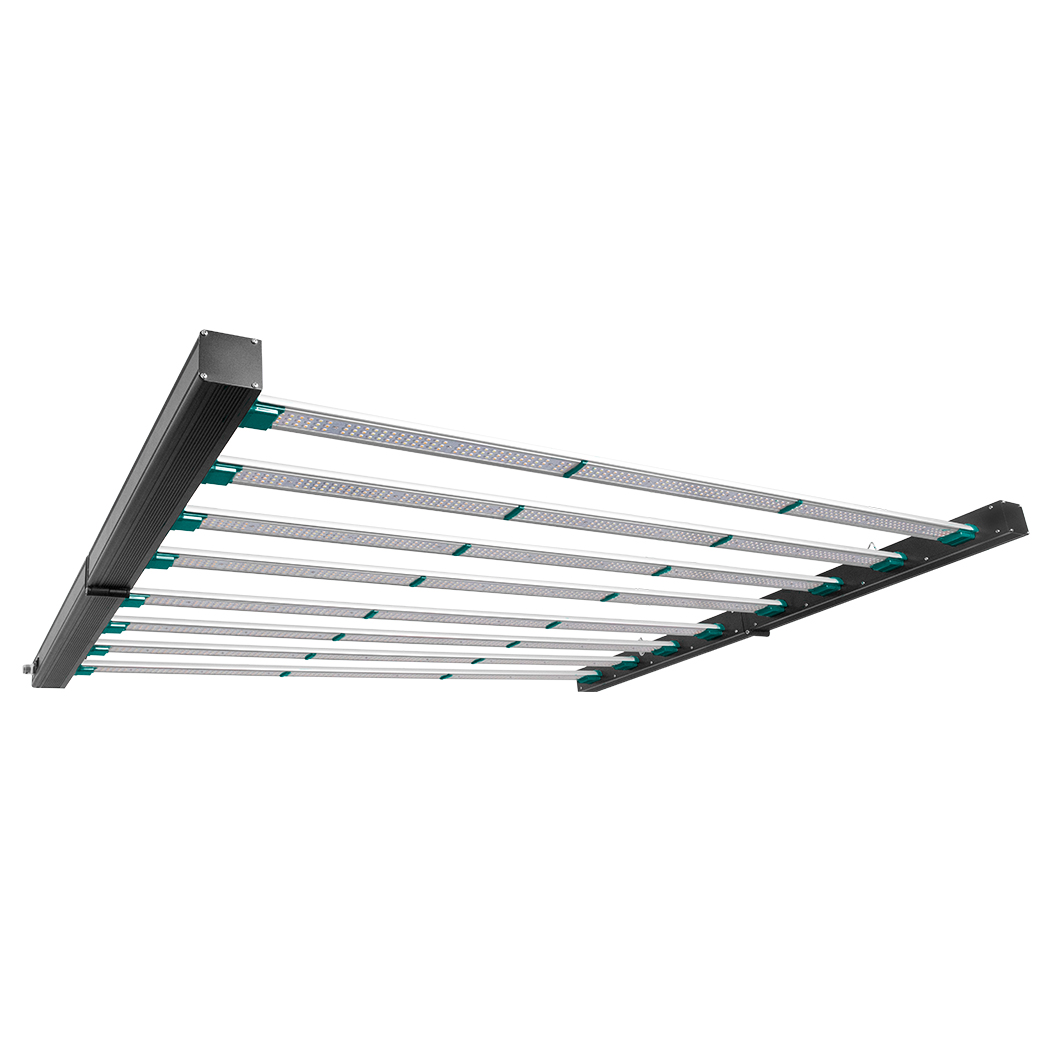
The major decision this year has been to make the transition to LED lighting, chiefly on account of energy costs. But there are side-benefits too, not least of which is the reduction of the heat added to the above-canopy part of the growing environment, where it is of little use to the plants.
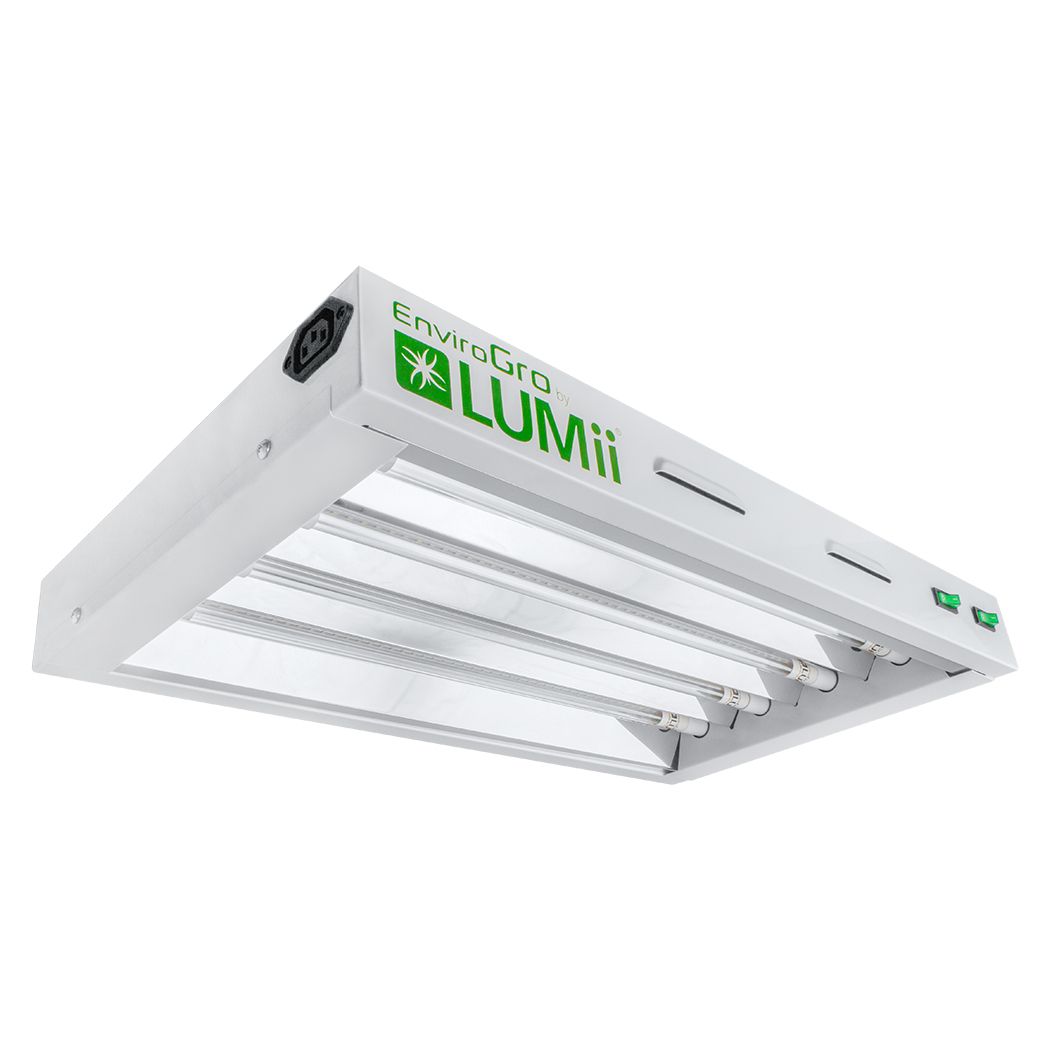
A lack of heat would be a problem during the propagation stage of the grow, of course, so that needs to be organised correctly. With the recently introduced EnviroGro by LUMii 60cm 4 Lamp TLED Fixture, hung in the old LightHouse CLONE 1 Tent there will still be plenty of room for a propagator. The TLED Fixture can be set to a cycle of eighteen hours on and six off using a LUMii 24 Hour Heavy Duty Timer.
 LED lamps emit little heat, so to achieve a germination temperature around 25°C and then to keep the seedlings comfortable with a night-time temperature above 18°C, a slim and reliable LightHouse ECOHEAT 80W Greenhouse Heater is needed. This can be controlled by a simple plug-and-play LightHouse Wireless Thermostat. That will ensure that the temperature within the propagation tent is kept stable and the heating costs very low, even if it’s set up in an outbuilding or loft. According to the talk at the grow shop, there will soon be a white-lined CLONE Tent available, which might be better suited to LED lights, but that will have to wait until the next crop.
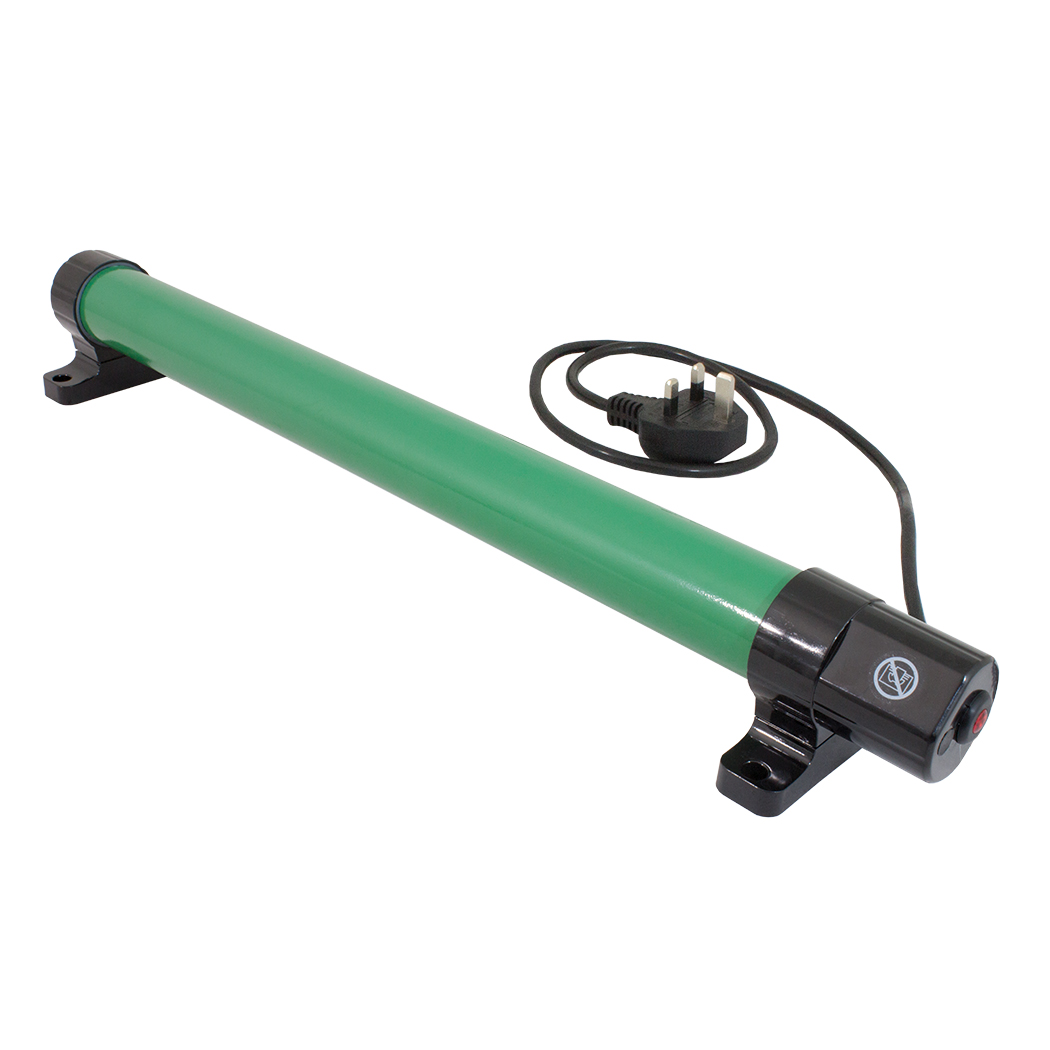
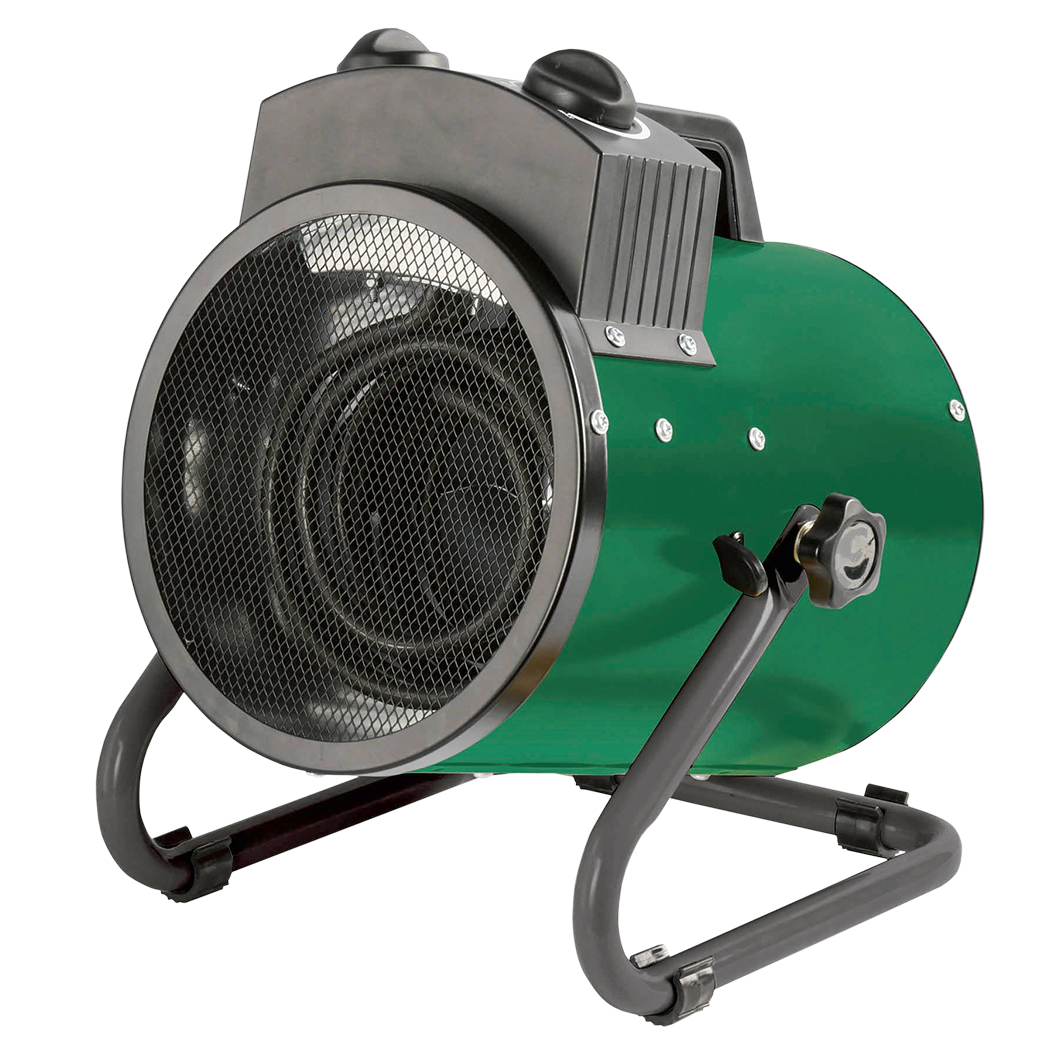 To make the place fit to work in, a LightHouse 3kW Greenhouse Heater blasting out heat from its two powerful elements will soon take the chill off the place, and then maintain a comfortable working temperature while a brand-new LightHouse WHITE 3m² Tent is erected with the help of a friend. It’s certainly a two-person job! Assembling the sturdy steel frame is simple enough but lifting and fitting the durable 600 denier tent canopy needs capable hands at either side of the frame. When it’s finally up, the inside looks like a preview of heaven; brilliant white highly reflective surfaces all round. Very reassuring to see that the new white tents have retained all the great features and detailing of the trusty and familiar LightHouse MAX range.
 The tent has four cable entry glands, all double-lined and light tight when the toggles are tightened. Near the base there are six mite-proof passive air vents, with Velcro-fastened light proof covers if not in use. There are four 300mm inline socks (two at each side) for fitting air-cooled lighting, but these are not needed for LED lighting, so they will remain sealed by their Velcro-fastened covers. Two huge doors give access at the front of the tent, and there are also doors at each side and one at the rear. All are fastened with Tivax double-lined, lightproof zippers. If more access was ever required, the whole front of the tent can be opened by simply unzipping it.
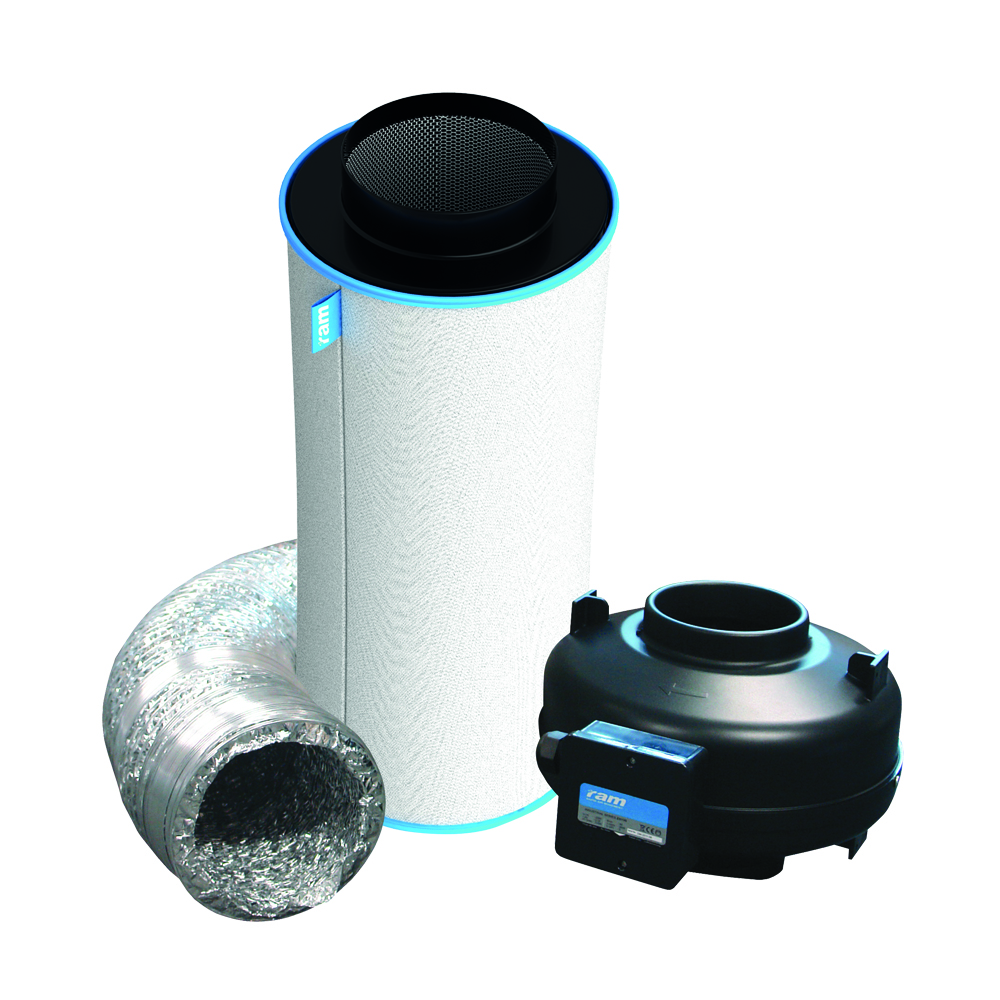
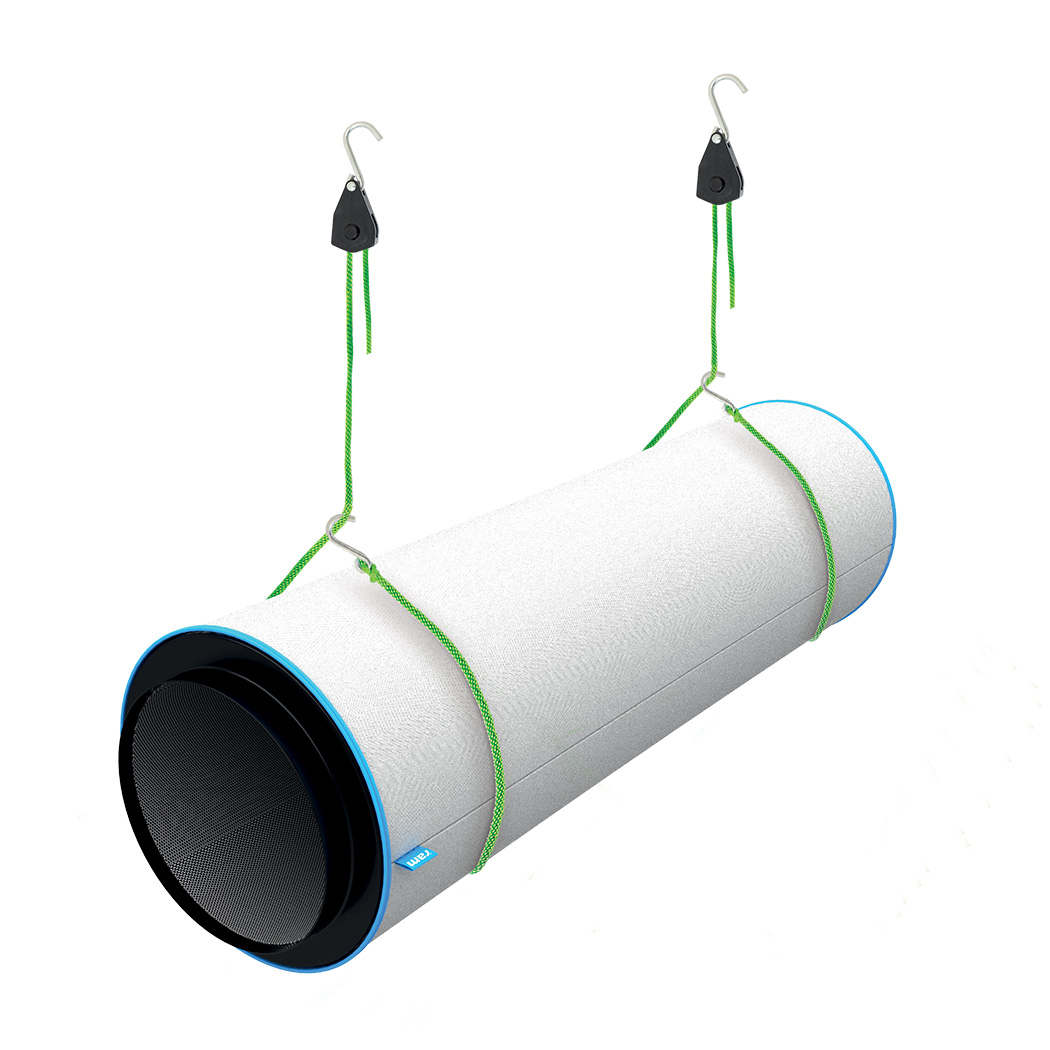
Active ventilation will be no problem. Negative pressure ventilation is preferable to avoid the possibility of odour leakage, and an excellent ventilation system can be devised using RAM Air Kit (998m³/hr) – 200mm which comprises a 200mm filter and fan and 5m of ducting. The tent is provided with enough hanger poles and straps to mount the filter within the tent in line with any of the side ventilation socks. The 200mm fan is then set up to extract air from the tent via the filter. With a smaller RAM Inline Duct Fan – 150mm - 580M³/Hr delivering air to a low-level ventilation sock at a lower rate, negative pressure conditions are created within the tent and all air exiting the tent is forced to pass through the filter.
The tent is spacious, so there is plenty of room for a heater to be placed within it. But it would be a shame to waste that LightHouse 3kW Greenhouse Heater. If it is positioned outside the tent, adjacent to the air intake fan, heated air will be drawn into the tent, and the space in the lock-up outside the tent will also be heated. That will create a warm buffer to defend the tent against sudden cold snaps and provide a welcoming glow to anyone visiting for the purpose of checking and maintaining the grow. Two power settings and a sensitive thermostatic control allow the heater to be set to hold the required temperature within a degree or two. To make certain that the heat settings are correct before the plants are installed, any necessary adjustments can be made now while the tent is empty.
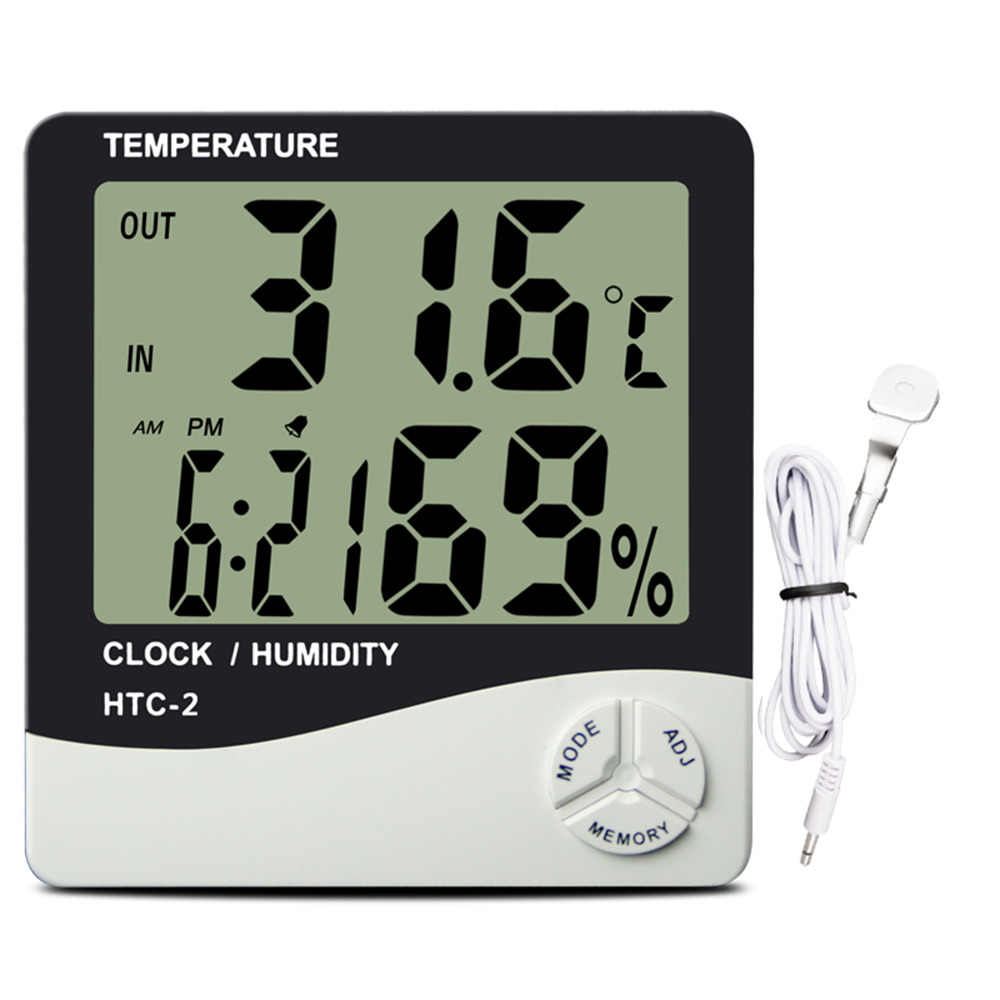 The temperature within the tent can be monitored using a Digital Series Indoor/Outdoor Min Max Thermometer. If the thermometer is hung from the tent frame at the same height as the canopy, and the waterproof “outdoor” probe (often used for checking nutrient temperatures in reservoirs) is allowed to sit at the bottom of the tent, then comparing the two readings gives a good idea of how even the temperature is throughout the tent. The maximum and minimum values are automatically recorded and can be viewed when convenient. If there is too great a difference between the temperature at the top and bottom of the grow, then this can be corrected by installing a fan to move and stir the air within the tent. A RAM 30cm (12") Air Circulator - 3 Speed should do the trick.